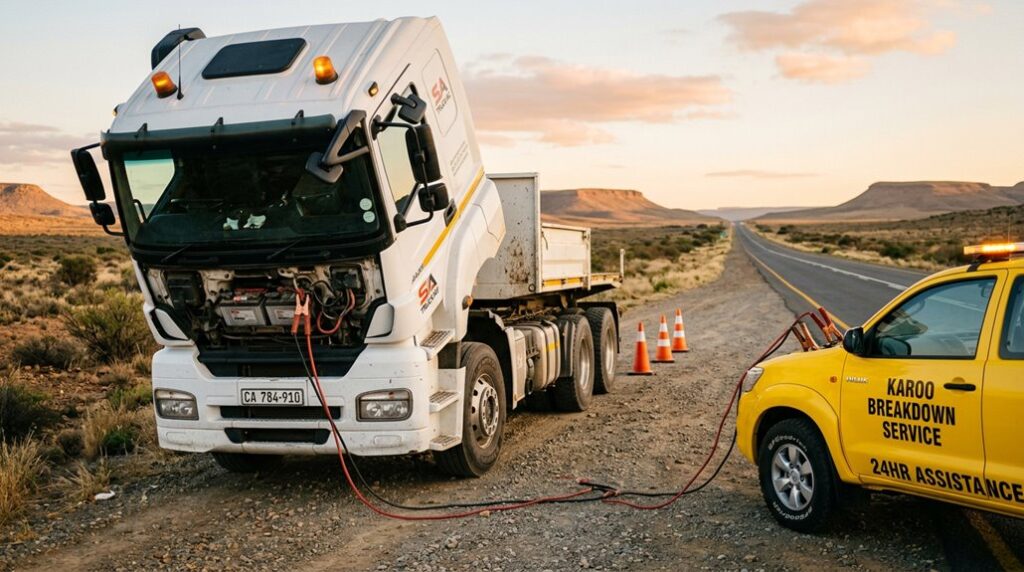
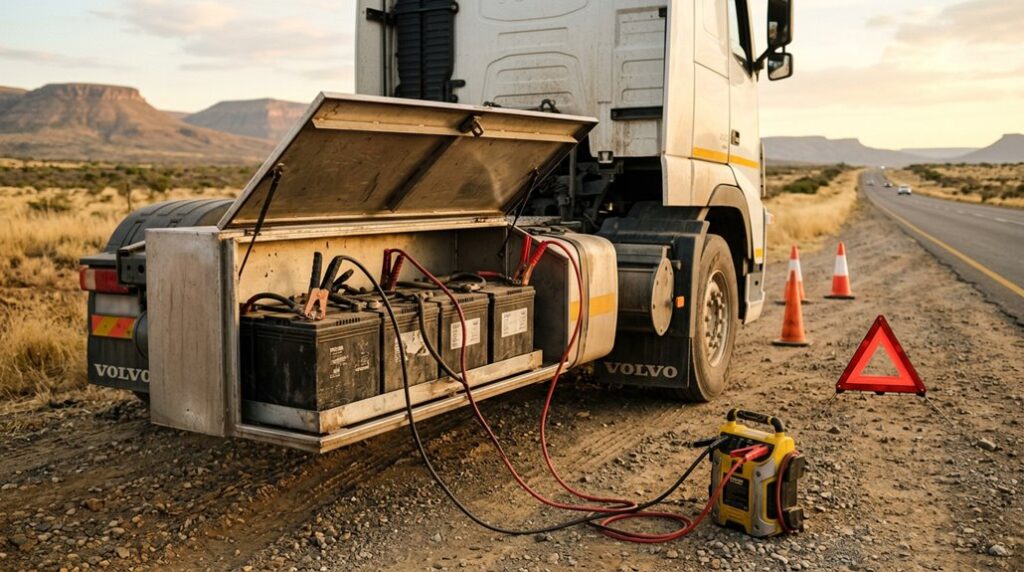
Most drivers think a jump-start is just red to red, black to black. On a heavy lorry, that shortcut can fry your ECU, cook your alternator, or send a battery case flying apart. A flat battery is a nuisance. A botched jump-start is a repair bill that can sideline your lorry for days. The good news is that you don’t need special training, only 2-gauge cables, the right connection order, and smart timing. There’s one detail most people miss, and it happens before you touch a single clamp.
Run Safety Checks Before a Heavy Lorry Jump Start
Before you connect a single cable, confirm that the truck, the battery, and the work area are safe. Professional drivers on the N2 share this routine. In busy transport hubs like Piet Retief, many operators rely on trusted truck experts to handle these safety checks when they’re unsure.
Every safe attempt to jump-start heavy truck batteries begins with these checks:
- Park on flat, stable ground, set the parking brake, and select park or neutral.
- Turn off both ignitions, lights, radios, and accessories.
- Confirm both voltage systems match, such as 12V to 12V or 24V to 24V.
- Don’t jump a cracked, bulging, leaking, or frozen battery.
- Wear safety glasses and gloves, and remove metal jewellery.
- Keep flames, sparks, and bystanders clear.
Stop if you see acid, smoke, or unusual heat. A rotten egg smell also signals that the battery is leaking and should not be jumped. Damaged cables or terminals can signal a truck electrical fault.
Call professional roadside support instead of guessing.
Pick 2-Gauge Cables for Heavy Lorry Jump Starts
Once your safety checks are complete, your next decision is the cable itself. Experienced fleet drivers choose 2-gauge jump leads as their baseline. This thickness keeps voltage drop low and moves heavy current safely. It’s the standard trusted across commercial fleets. For even more reliability, match your cable quality to the kind of professional battery services you’d expect from a dedicated lorry battery specialist.
Experienced fleet drivers start with 2-gauge jump leads. Low voltage drop, heavy current, and the trusted commercial standard.
Check these specifications before you connect:
- Length: 16 to 20 feet (longer cables add resistance)
- Material: 100% copper conductors and solid copper clamps
- Clamps: 400A continuous-duty rating
- Hardware: sturdy clamps, not lightweight consumer sets
Poor clamp contact wastes current, even with the right wire. Match your clamps to your cable size.
Large diesel lorries and cold-weather starts need more capacity. Step up to 1-gauge or 1/0-gauge heavy-duty jump leads. For winter reliability, look for cables that stay pliable across a temperature range of -55°C to 105°C.
“Extra capacity means safer starts.” That’s a great result for you and your lorry.
Connect Jump Leads in the Correct Order
Four connections stand between a dead battery and a safe start, and their order matters. Professional drivers follow one sequence every time. To jump start lorries, use this order:
- Step 1: Red clamp to the disabled lorry’s positive terminal or jump post
- Step 2: Red clamp to the donor lorry’s positive terminal
- Step 3: Black clamp to the donor lorry’s negative terminal
- Step 4: Black clamp to bare metal on the disabled lorry’s frame or engine block
Batteries release hydrogen gas. You’ll make the final connection away from the battery, so sparks can’t trigger vapours. Don’t use painted, corroded, or flimsy metal surfaces.
Multiple-battery lorries may use the first series battery or a designated jump point. With heavy duty jump leads, remember: “positive, positive, negative, earth.”
Time Your Cranks and Unhook Cables Safely
With all four clamps secure, your focus shifts to the donor engine and the starter motor. Let the donor idle for 1–2 minutes, ideally near 1,500 RPM. Keep accessories off on both vehicles. The donor stays running throughout.
To safely jump-start truck systems, follow the same limits experienced fleet drivers use:
Short cranks and patient pauses protect your starter motor. Fleet drivers never push past fifteen seconds.
- Crank for 10–15 seconds maximum.
- Pause a few minutes between attempts.
- Stop if the starter motor sounds sluggish, or cables heat, spark, or shift.
Once the truck runs smoothly, remove clamps in reverse order. Don’t let metal ends touch. Keep the donor running until every clamp is clear. For added peace of mind, consider having your charging system and battery checked by our 24/7 auto electrical and batteries team while you’re already stopped.
Let the truck run 15–30 minutes. If it stalls again, search “auto electrician near me” and call our N2 team.
“A short check now protects your ECU.”